E911 locations are vital for emergency services to accurately locate callers. Keeping an updated list is essential for compliance and safety. This guide offers step-by-step instructions for managing e911 locations in the Omnia Admin Portal.
Accessing e911 Locations
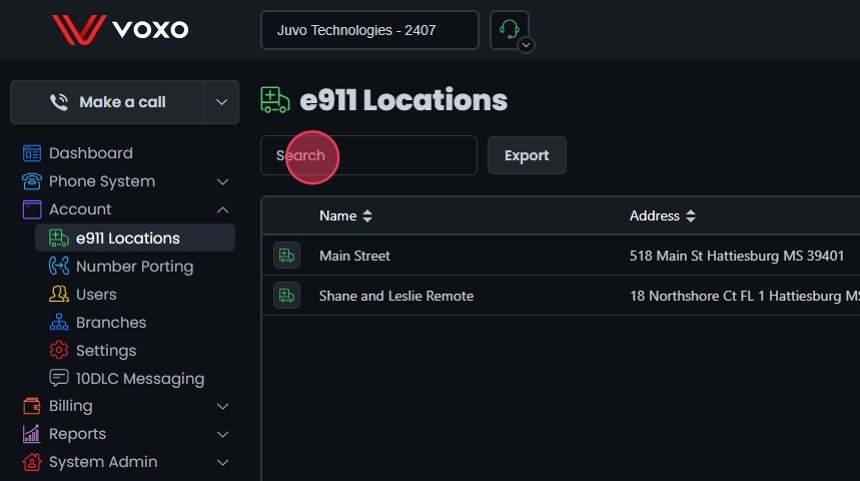
- Navigate to e911 Locations: Go to the Admin Portal and sign in. Click the Account tab to expand it, then select e911 Locations.

Adding New e911 Locations
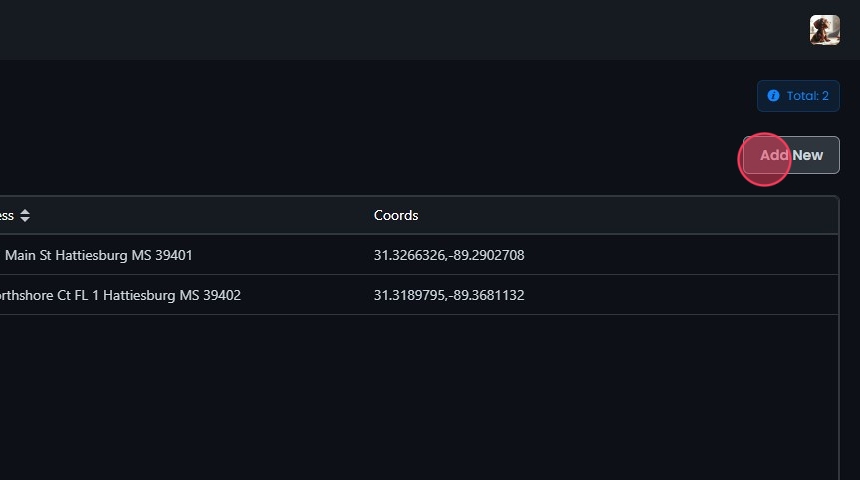
- Add a New e911 Location:
- Click Add New to create a new e911 location.
Enter Location Details
- Enter Location Details:
- Name: Provide a name for the location.
- Search address: Enter the full address and use the search functionality to auto-fill other address fields.
- Street number: Enter the street number if not auto-filled.
- Street Name: Enter the street name if not auto-filled.
- Select location type: Choose the type of location from the available options:
- BLDG: Building
- FL: Floor
- STE: Suite
- APT: Apartment
- Enter building / suite number: Enter the specific building or suite number if applicable.
- City: Enter the city name if not auto-filled.
- State: Enter the state abbreviation if not auto-filled.
- Zip code: Enter the zip code if not auto-filled.
- Latitude: Confirm or enter the latitude coordinates.
- Longitude: Confirm or enter the longitude coordinates.

Verify Location on Map
- Verify Location on Map:
- Click Validate.
- Use the map view to verify the accuracy of the location. Adjust the pin if necessary to ensure the correct location is marked.
- Place a checkmark next to Location Verified.

Save the Location
- Save the Location:
- After filling in all necessary details, review your entries for accuracy.
- Click the Create to save the new e911 location.
- Click Yes.

Editing e911 locations
- Edit e911 Locations:
- Click on the e911 Location you want to edit or click the Edit button next to it.
- Make your edits.
- Click Save.
- Click Yes.

Deleting 911 locations
- Delete an e911 Location:
- Click the Delete button next to the e911 Location.
- Confirm the deletion by clicking Yes.
- Note: You cannot remove locations with assigned extensions. Remove the e911 location from the extensions and assign a different e911 location before deletion.

Search, Sort, and Export
- Search for a Location:
- Search Bar: Quickly find specific items by typing the name or a keyword in the search field.
- The system will filter the list based on your search input, displaying the relevant results.
- Sort Locations:
- Click the sort icons next to the column headers to arrange items in ascending or descending order.

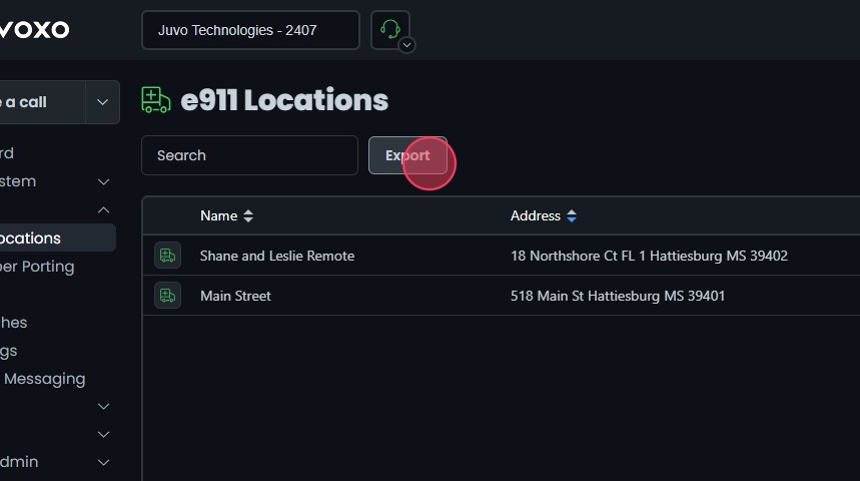
- Export Location Details:
- Click the Export button next to the search field.
- The system will download a list of the items in CSV format.